Check a model, step by step
- Open Check in the top bar.
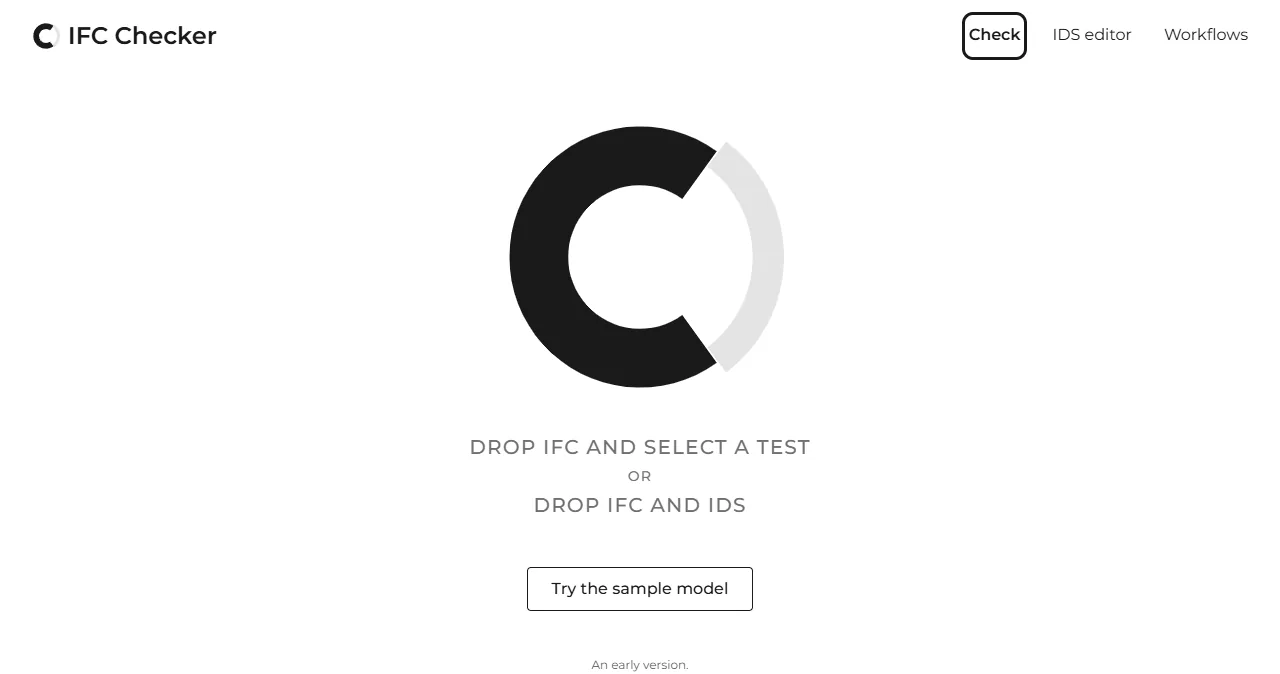
- Drop the
.ifcfiles on the IFC Checker mark, or anywhere on the page, or click the mark and choose them. Without a model of your own, choose Try the sample model. More on adding models.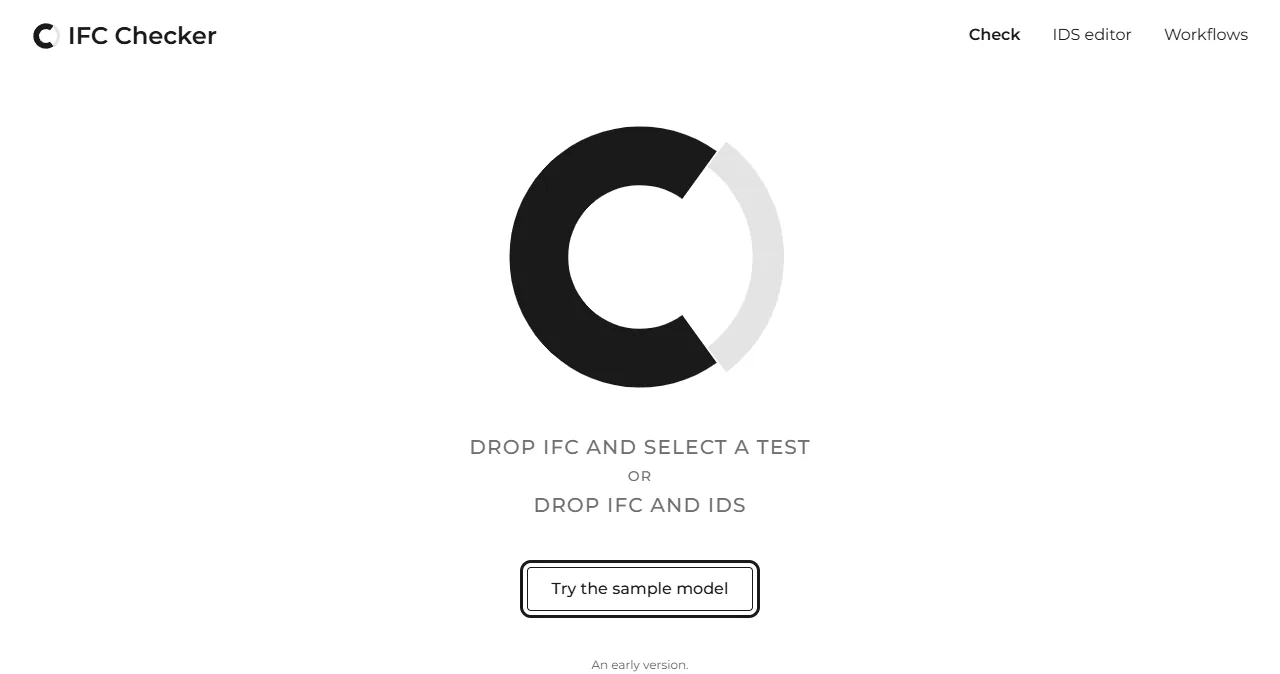
- Under Tests, pick a test: your IDS, a predefined test and its stage, or none. To check against your own IDS, drop the
.idsfile with the model. More on picking the test.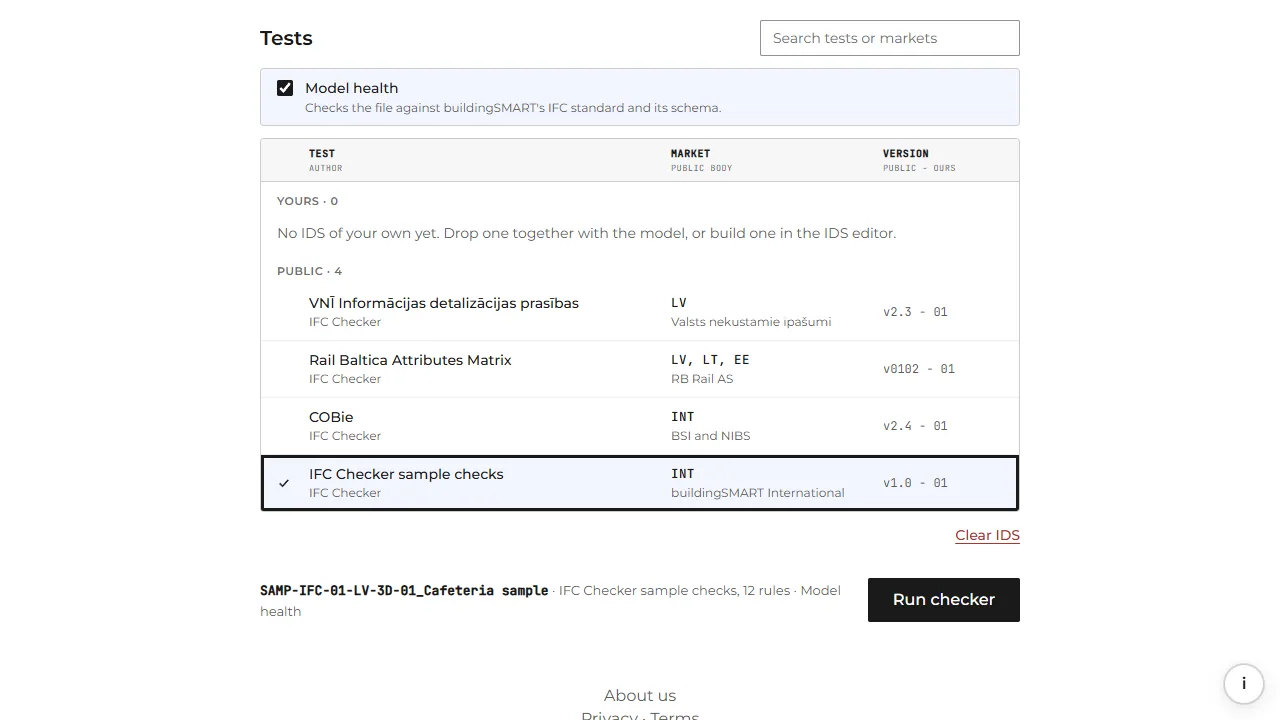
- Keep Model health ticked to check the file itself as well. Look at the line above the button: it says what the check will do.
- Choose Run checker. Results opens and shows the check while it runs: a bar on each model's row says which step the check is in. To stop it, choose Stop check.
- Read the Model Correctness Index and the counts under it: untested, failed and passed. With several models, the index counts all of them, and the Model table gives each model's own.
- Read the result of every element, and export the issues to fix them. With several models, first choose the model's name in the Model table: its elements then show alone. The downloads are under the table.

What you can check
Check takes IFC files in the STEP format (What is IFC?), the .ifc files authoring tools export, and IDS files (What is IDS?), the .ids files that hold requirements. One check takes up to five models, added together or one by one, and checks them one after another against the same test. A sixth model is not added, and the notice names it.
Check it again
After fixing the model in the authoring tool, export it again. On Check, add the new export under the same file name: it takes the place of the old one in the list, also when it was saved over the old file. Under another name it is added beside the old one, so remove the old one first. A corrected IDS added again under its name takes the place of the old one in the same way. The test you picked stays picked. Choose Run checker again to see the new result. The Previous column of the Model table then shows the index of the earlier check beside the new one.
If something goes wrong
A file that is refused, a check that does not finish or a model that cannot be read: why was my file refused or not read?. A 3D view that is empty or slow: troubleshooting the 3D view.